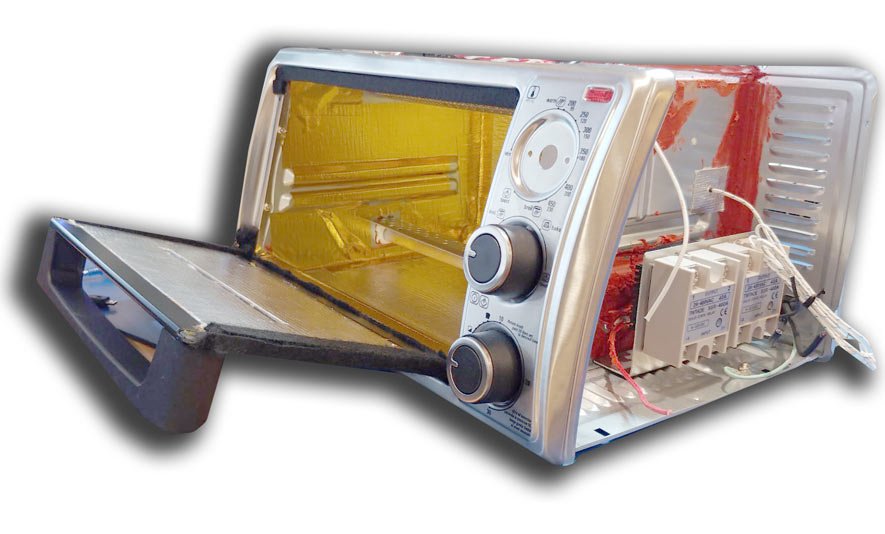
Building your own reflow oven for home PCB reflows can be a very rewarding experience. There’s no shortage of guides, code, and designs online to get going. Some of the notable projects include the Whizoo Controleo3 prebuilt oven controller, and the ReflowMaster open-source controller (featured in our Featured Projects section).
Though this list isn’t comprehensive, it includes some of the essential items you’ll need to convert your toaster oven to a home-made reflow oven (excluding controller and electronics – article coming soon.
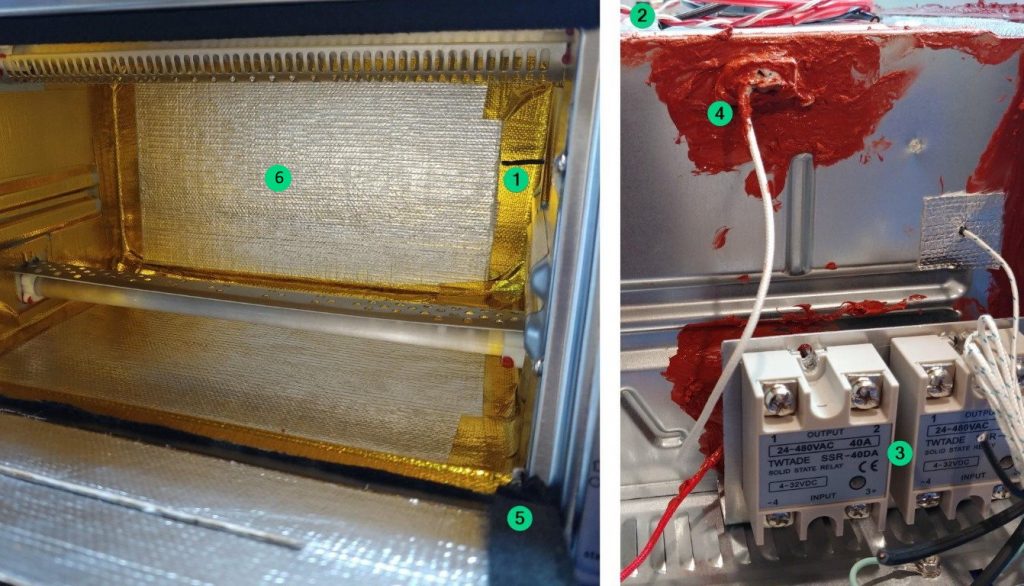
The image below shows an intermediate step in toaster-oven to reflow conversion. Individual parts labeled according to the list below.
(This post contains Amazon links, CircuitSnoop may earn a small commission for my endorsement, recommendation, testimonial, and/or link to any products from this website)
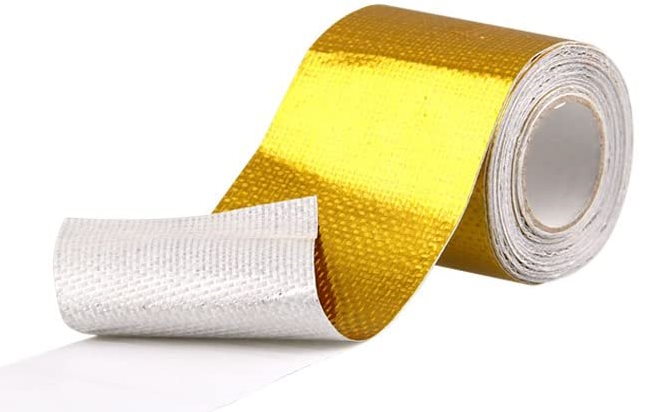
1. Adhesive Glass-Fiber Heat Tape
Heat tape should be used inside the oven chamber for walls and corners. Various brands of heat tape exist (some better than others), but if you’re on a budget the Sporacingrts heat tape below offers an affordable solution. One roll should be plenty for a single reflow oven build with much to spare, for future projects or applications.
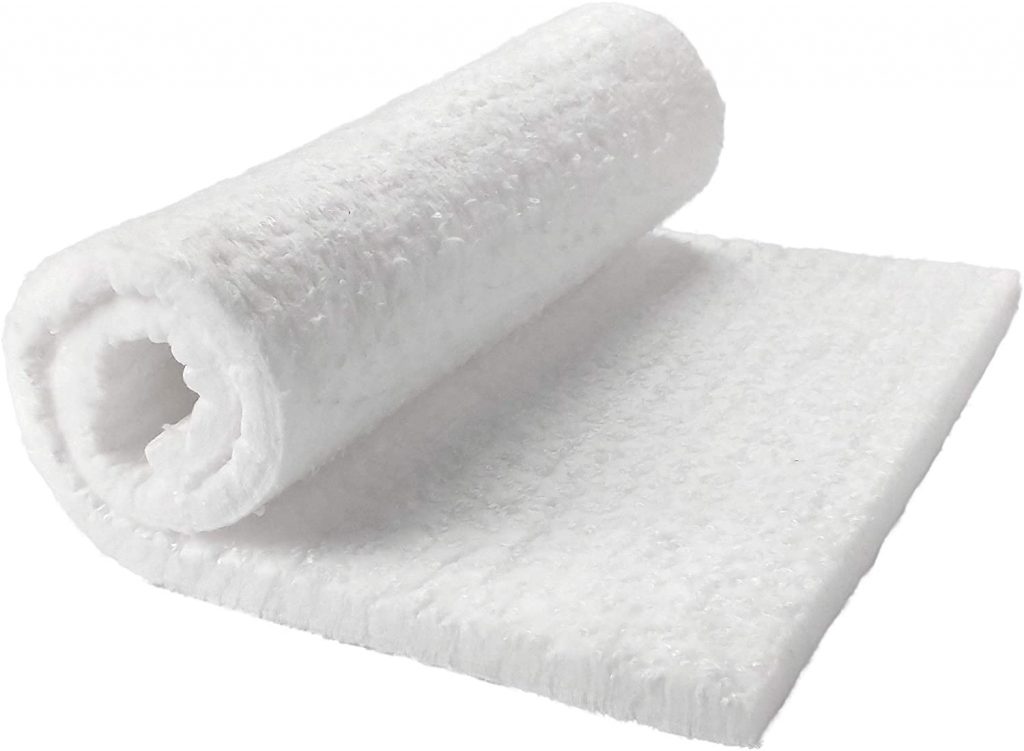
2. Ceramic Fiber Insulation
Ceramic fiber insulation is wrapped around the oven chamber (after all wiring is done and tested), and provides the most insulation to the oven chamber. Be very careful when handling this stuff, as the fibers can easily become airborne and are an irritant. Lynn Manufacturing supplies rolls of ceramic fiber insulation at an affordable price.
3. Solid State Relays
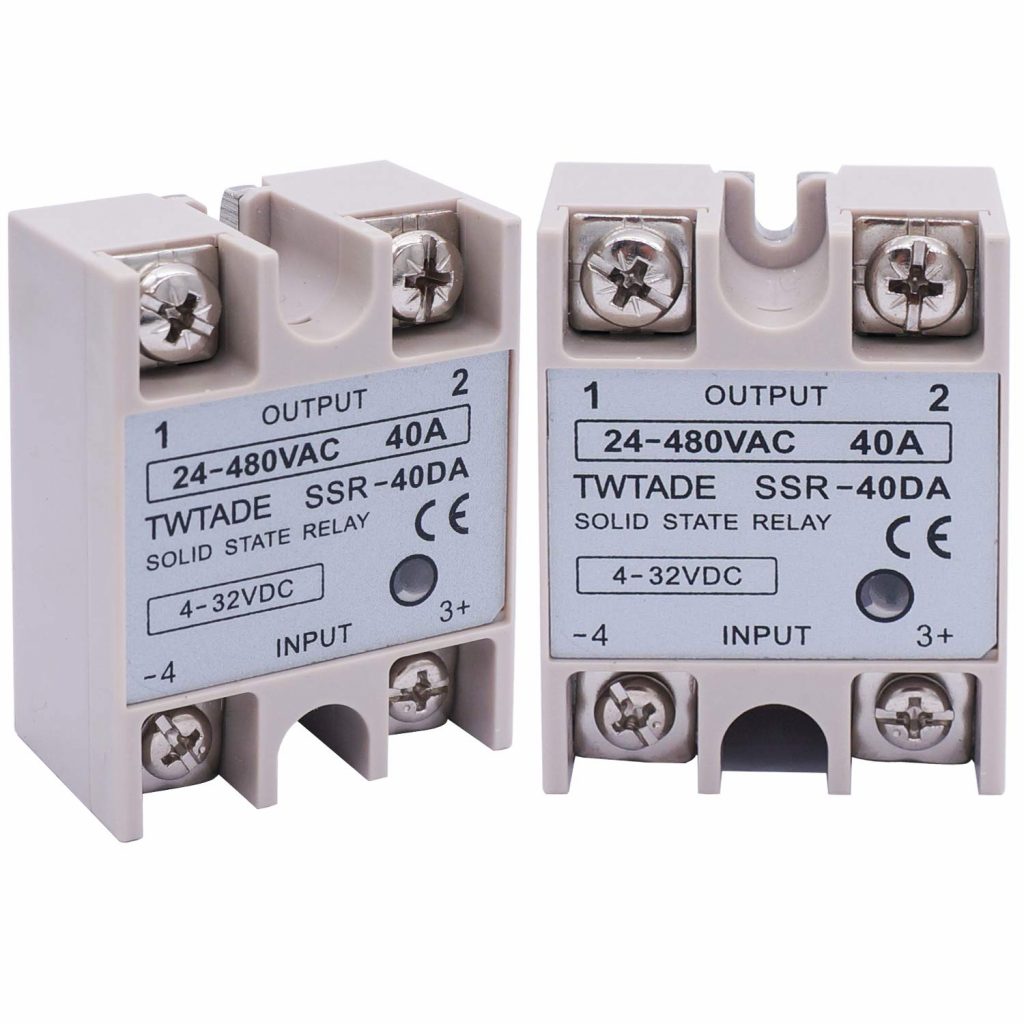
Solid-state relays (SSR) are preferred over their mechanical counterparts in almost every application. These are wired directly to the controller (low voltage) and oven heating elements (high voltage). Usually you’ll only need 2 (for the top and bottom heating elements), but if you’re using an additional booster element, then you’ll need 3. TWTADE offers a multipacks of SSRs, so you’ll need to pick up the correct amount according to your design.
4. High-Temperature Silicone Gasket
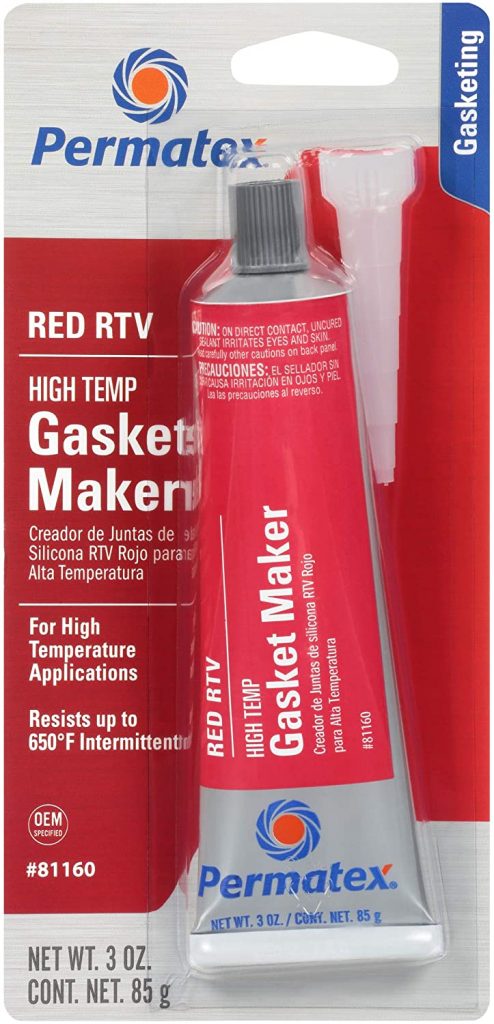
There will be gaps that you simply cannot cover with peel and stick type of thermal barriers, so a high temperature silicon is an essential part of keeping heat inside the oven chamber. Permatex Gasket Masker is a great silicone gasket that can be used here. You will probably want to wear latex gloves while applying, and apply in a well ventilated area. Also, very important, be very careful during application (on a stock toaster oven), as there are very sharp edges all about, and you’ll probably end up needing item #7 (scroll down to view).
5. High-Temperature 3/4″ Gasket
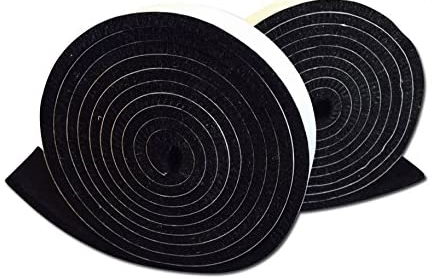
Another area that other thermal-barrier solutions aren’t appropriate is the oven door. This needs a seal which will guarantee no heat escapes when the oven door is closed. For this you can use FireBlack high-temperature BBQ gasket. You may select different widths, but 3/4″ will give you the ability to cut it down to your needs.
6. Aluminum Heat Shield Adhesive Thermal Barrier
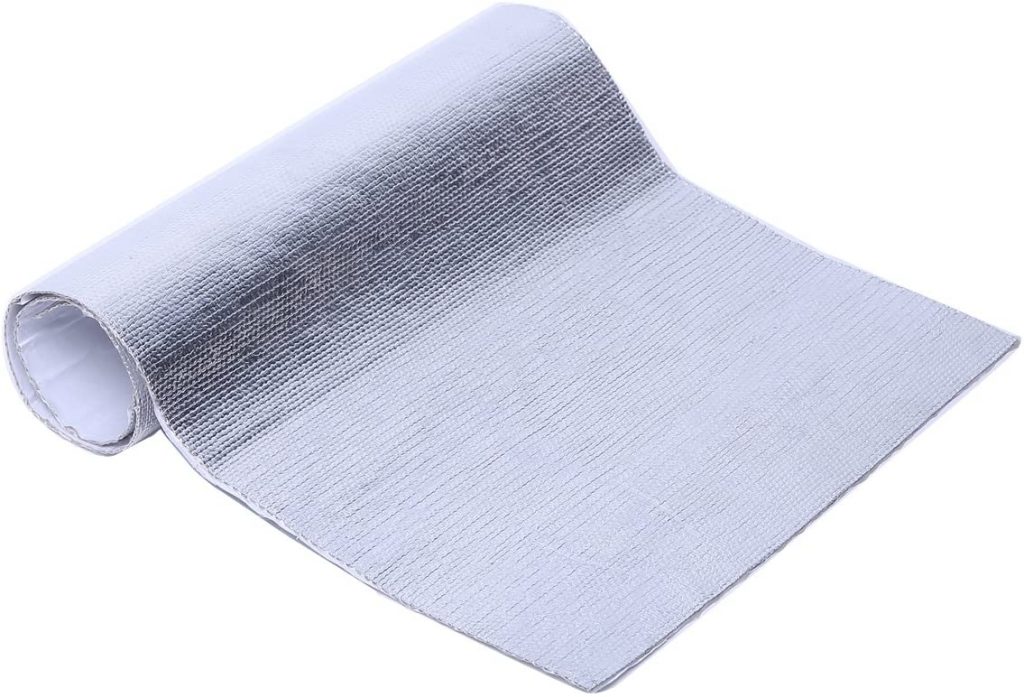
The thermal barrier that will cover the most area inside the oven is a reflective heat-shield. Wisauto offers a peel and stick aluminum heat shield that will reduce up to 90% of radiant heat, and can withstand temperatures up to 2000° F.
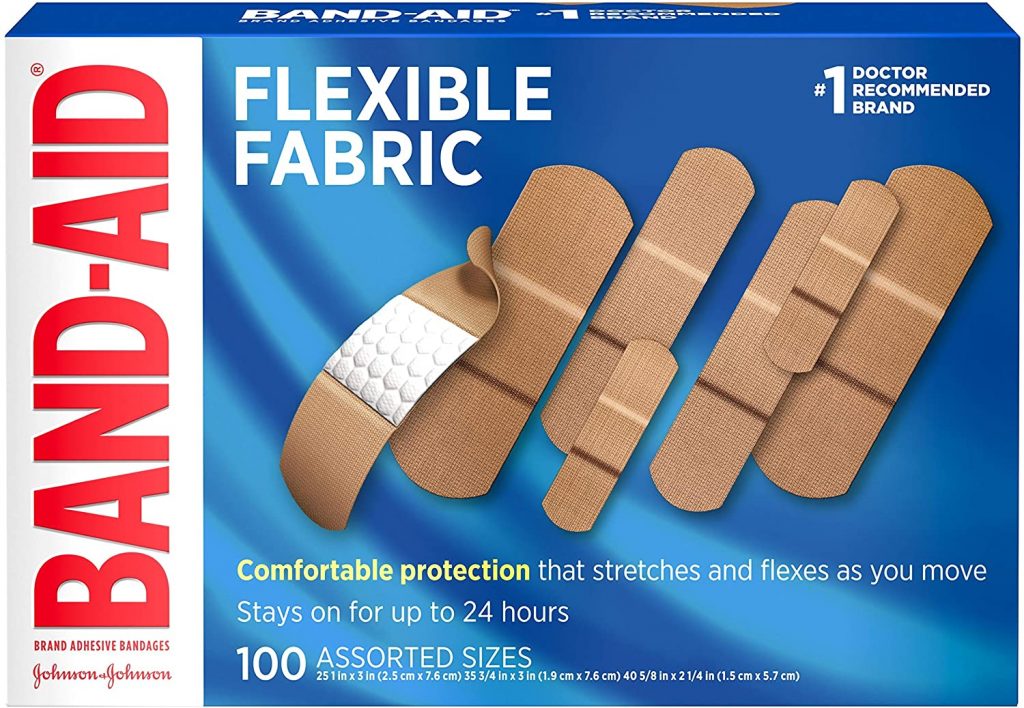
7. Band-Aids
This is kind of a joke, well not really. If you are building a reflow oven by scrapping and existing toaster oven, chances are you may nick yourself more than once on the very sharp metal edges when working on the internals.
It is worth mentioning again that this list is by no means exhaustive for a complete DIY reflow oven build, but these items are crucial for most builds and will not break the bank.

